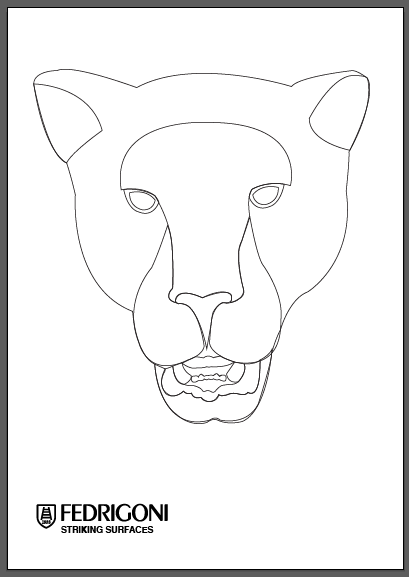
And so I knew that the face would work and I could use it in a special print/ poster.
I looked at the wording and what needed to be included , and so I went back to the brief.
I found that in the brief they had described their papers as 'striking surfaces' and I thought that this relates to the panther as they would strike and it also is a word thats relates to the sense of power I was trying to achieve. Striking also means interesting/ out of the ordinary, something strong and prominent and I think this is a good message for the paper range.
I also gave a brief description of the paper range, (which was also on the brief) and Included the logo as I feel that it is needed.
I experimented withe the alignment and positioning of the text,
I quite liked this central design but the logo makes it look slightly off balanced as the badge is taller than the x-height of the logo.
In this I also had tried to see what it would look like with the logo as the biggest word on the page.
I didn't really like that the logo was the first in the hierarchy so I changed it, I also wanted to see if it would work if I removed the body copy and just had the name of the paper range and the logo, this is almost at its simplest form of communicating what it is.
I felt that the copy sells the paper range on not just its new colour but it explains how and explains the range, and so I changed back to what I had originally put.
I reflected on the design, and I felt like there was something missing and it looked a little bit too plain,
And so I thought about the word striking in relation to the panther and a panther would maybe strike with its claws, and so i thought about a scratch, but I didn't want to create the stereotypical paw scratch marks and so I kept it minimal by having one straight line instead, cutting through the title 'striking surfaces'
I did like it without the line and then I thought about the print and I felt that a line would almost frame the image and it would look more like a scratch/strike.
Once I had the text, I began to change the image of the panther to see the relation between type and image.
I then looked at this half face composition and I like how it works along the angle of the line, I also think that if the text and the inner eye is one colour and the rest is black it will be really interesting and eye capturing.
I decided on the design below I think that it is really interesting and the half face
And so I had to set up for laser cutting again as this time the panther face was bigger (to fit A3) and there was now half a face, which would still be relatively easy to cut on the laser cutter. And so I had to as before break up the layers of the face and this is how it appeared this time...
(Original image/ How all the layers would look together)
I started with the half face so I knew what each layer would need to look like.
I went back to the previous laser outline set up I had created and I enlarged it using the above image as a size guideline, I cut the face in half by drawing a line and using the pathfinder tool to divide the face in half, and then deleting the other side.
On some of the pages I had the same outline repeated so that I could create thiner layers and create more depth.
Mouth Detail
Depth Scale of the Layers.
View of Final Panther Face
The face will be used on the final poster, but I am waiting on the Fedrigoni sample pack as I wanted to see whether the embossed paper could be used for part of the panther, which would show of the range and create a texture, making the panther even more detailed


No comments:
Post a Comment